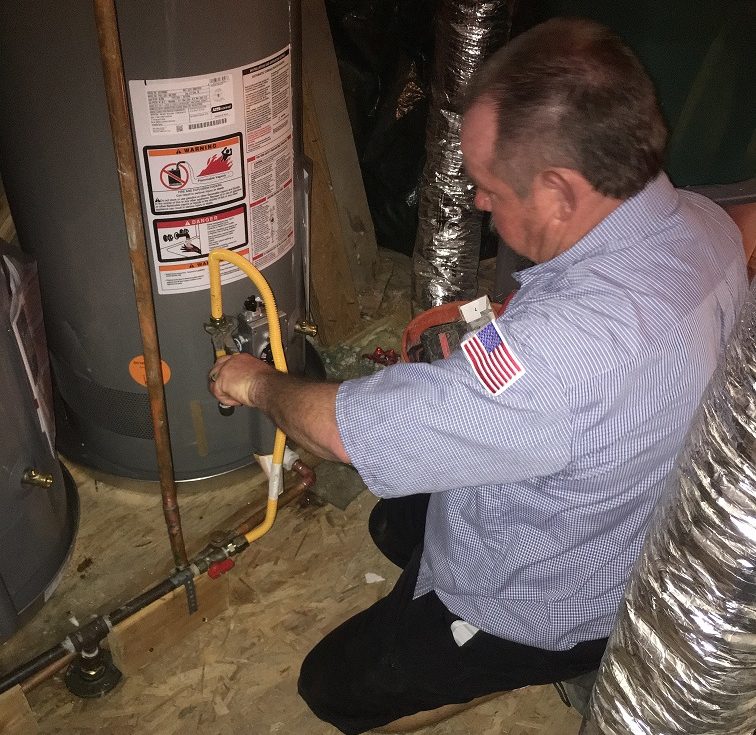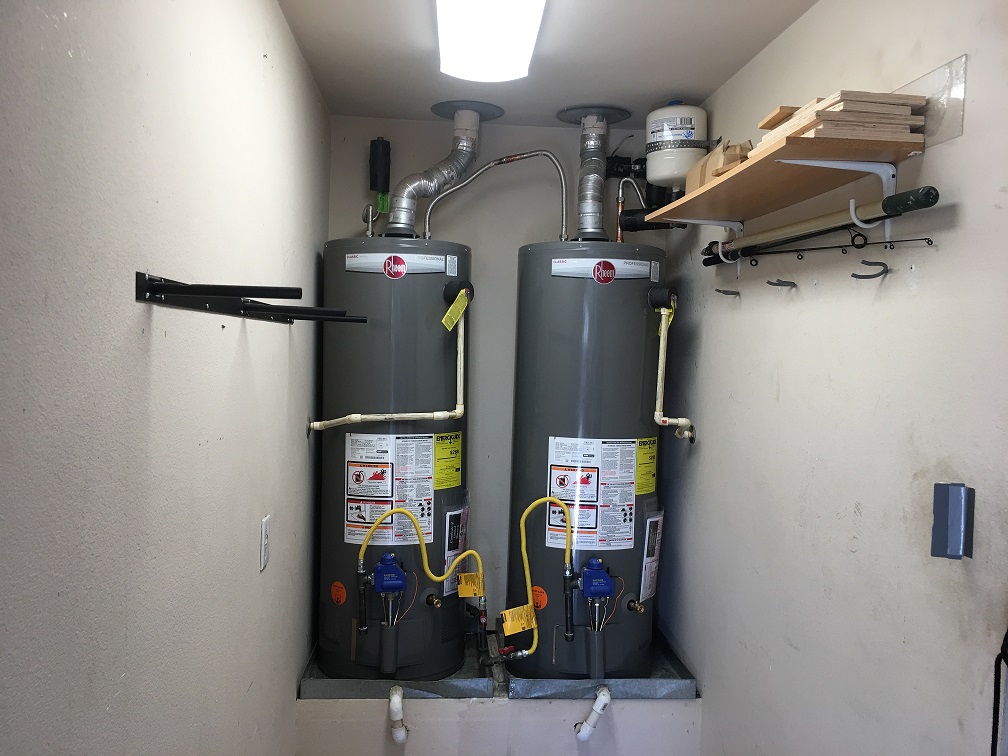
Your water heater is an important part of your daily life. You probably use it when taking a shower or washing your hands. It’s one of those things that you tend not to think about unless it stops working. The periodic flushing of a hot water heater is a vital part of keeping it functioning correctly. In this blog post, we’ll look at the steps the expert plumbers at Bewley Plumbing follow to flush a water heater and tankless hot water heater.
Caution: Please be aware that flushing a hot water heater is dangerous and can lead to severe burns. It should be done by a professional plumber.
Why Should I Flush a Hot Water Heater?

The minerals in your water accumulate over time in the bottom of your water heater’s tank, forming a layer of sediment. This can cause your water heater to operate less efficiently and have less space for water.
Sediment build-up can cause a lot of problems. It can damage your water heater. It can also leak, which can cause flooding. In a worst-case scenario, a hot water heater can even explode!
How Often Should I Flush My Hot Water Heater?
A hot water heater must be flushed at least once a year, if not more. Along with flushing the tank, a water heater should also have professional maintenance annually, if not more often.
In areas with hard water, a water heater tank must be flushed at least two to three times each year.
In addition to periodic hot water heater flushes, there are signs to watch out for that can indicate that you need to have your hot water heater flushed.
Some of these include but are not limited to:
- Unusual sounds
- Leaks
- Regular water temperature inconsistencies
- Unusual smelling or tasting water
How to Flush a Hot Water Heater
Safety Information
As professionals, we take steps to ensure that the job gets done safely.
When flushing a hot water heater, there is a risk of being burnt with scalding water. If we were to attempt to drain the tank before the water has time to cool or we don’t continually replace the water with cold water, the water on our end will be scaldingly hot. This is not only dangerous to us, but can damage anything it makes contact with, such as outside plants. We always make sure to work with cold water by shutting off the heater and giving the water plenty of time to cool down.
Another risk when draining a hot water heater is accidental flooding.
This could happen for a number of reasons:
- The person draining the hot water heater could overestimate the capacity of where they are draining the water.
- The water coming out of the hose may be highly pressurized.
- The heater might leak in the location where the drain valve is connected to the hose.
It is important for us to watch for signs of trouble like these to prevent damage to the homes or businesses of our clients.
Tools We Need
- Bucket
- Towel to absorb water
- Garden hose (and, if needed, a connector for a drain valve)
Step 1: Shut off the hot water heater.
Depending on if we are working on a gas or electric water heater, the steps we take will be different.
Gas Water Tank: We locate the thermostat on the outside of the water heater and set it to “pilot.”
Electric Water Tank: At either the fuse box or the electrical panel, we turn off the power to the hot water heater.
Step 2: Shut off the cold water supply.
We find and shut off the valve located at the top of the tank where the water heater connects to the water supply. This valve will often be blue.
Step 3: Let the water cool.
By allowing the water to cool down, we lessen the risk of burns and damage from hot water.
If we need to do this quickly, we can drain the hot water by opening up a faucet and letting the water run until it turns cold. Caution: Be careful, as the hot water can burn you. It is best to have a professional plumber do this. For this step to work, we’ll need to do it between steps one and two.
Step 4: Find the drain valve and hook it up to a garden hose.
Once we’ve connected the drain valve to a garden hose, we place the other end of the hose where we want it to drain, such as outside the building, a utility sink, or a bathtub.
We may need to use a connector to hook up the hose to the valve. We would check the water heater’s manual for the correct valve size specifications.
Step 5: Turn on a hot water faucet and allow it to run until the water heater flushing process is over.
By doing this, we help alleviate pressure and prevent vacuums from forming inside the water lines.
Step 6: Open up the drain valve and let the tank drain.
Depending on how full the water tank is or how much sediment has built up, this process can take some time.
We Regularly Check the Quality of the Water: Every 10 to 15 minutes, we drain the water into a bowl or bucket and let the water settle. If we still find sediment in it, we will continue to drain the water tank until the water becomes clear.
We Stay Close By: It is important for our team to be in the vicinity of the water tank during the draining process. That way, we are able to act if we notice any leaks, hear any unusual sounds, determine that the water tank has too much sediment to effectively drain, or come across any other potential problems.
Step 7: Flush the tank.
Again we will turn on the cold water and let it run until the water coming from the hose becomes clear. This acts as a final flush of the system that gets rid of any sediment particles that remain in the water tank.
Once this step is finished, we turn off the cold water supply.
Step 8: Finish the draining process and let the tank refill.
We close off the drain valve, and then remove the garden hose. Next, we turn on the cold water supply and allow the tank to fill up.
We make sure to keep the faucet from the fifth step open. This allows air trapped in the system to escape it.
We then wait until the faucet is at full pressure and has no signs of hesitation in the water flow. Then, we turn it off. This tells us that the water tank is once again full. At this point, the water should still be cold.
We then turn the water heater back on. After at least 30 minutes have gone by, the hot water should be running as normal.
Gas Thermostats: We’ll set the thermostat back to its original setting.
Electric Thermostats: At either the fuse box or electrical panel, we switch the power back on.
How to Flush a Tankless Water Heater
As with traditional water heaters, tankless water heaters also need to be flushed. However, the way it is done is different. In the following section, you’ll read how the team at Bewley Plumbing flushes a tankless water heater. As with all plumbing work, it is best carried out by a qualified professional.
Step 1: Turn off the tankless water heater’s power source.
Step 2: Turn off the main gas line or shut off the circuit breaker for electronic devices.
Step 3: Close (turn off) the tankless water heater’s three valves.
The three valves include a main valve, plus blue and red (cold and hot) valves.
By closing off the valves, we prevent cold water from going into the water heater and hot water from coming out when it is being cleaned.
Step 4: Slowly remove the purge port valve caps found on the hot and cold water valves.
Generally, the purge valves should have small handles that look like the letter “T.”
We remove the valve caps to release pressure that may have built up inside the valves. This is important as it prevents hot water from bursting out when the tankless water heater is cleaned—a very dangerous situation!
Warning: When we remove the purge port valve caps, pressure can cause water to shoot out. Because of this, we need to make sure that the hot water valve is completely shut off.
We need to be careful when handling the caps so that the rubber sealing discs stay in place. The discs are an important part of the proper functioning of the valves.
Step 5: Attach hose lines to the three valves.
If the tankless water heater does not come with hose lines, we will need to use our own. We can find these at just about any home repair store that has water heaters. The hose lines we use need to be long enough to go from the tankless water heater to a bucket.
We will consult the tankless water heater’s manual or reach out to the manufacturer themselves to get the exact instructions on how to do this.
On some occasions, we may need to use a sump pump and connect the hoses to flush and discharge the water from the hot and cold water valves.
Step 6: Open up the purge port by turning them so they are perpendicular to the position of the hot and cold valves.
Step 7: Use four gallons (15.1 liters) of undiluted white vinegar to clean the tankless water heater. Never use any chemical solutions for it.
You should never use chemical cleaning solutions when flushing your water heater, as they can be incredibly dangerous to your health. There’s a good chance that the drinking and bathing water in your home goes through your tankless water heater.
Ensure the vinegar does not become heated, as heated vinegar is extremely harmful.
Step 8: Follow the instructions from the manufacturer’s manual to carry out the flushing and draining.
This process can last up to 45 minutes.
Step 9: When the flushing process is done, close the purge port valves by turning the “T” shaped handles.
Step 10: Disconnect and take off the hose line from the valves.
Step 11: Put the purge port valve caps back onto the purge valves.
We make sure to tighten the caps firmly, but are careful not to over-tighten them or break the rubber sealing discs inside the caps.
Step 12: Check the manufacturer’s manual to know the exact way to safely restart the tankless water heater.
To do this, we may have to turn and rotate the hot and cold water valves to make them parallel to the position of the main valve.
Step 13: Select a sink tap inside and slowly turn on the hot water so air can pass through the pipe.
We let the water run until it has a steady flow and no air escapes, which can be detected through a slight spurting sound. This process may take two or three minutes before all of the air pockets have escaped.
McKinney Water Heater Services

Whether for routine maintenance or major repairs, when working on a water heater, it’s a good idea to go with a professional. If you’re in Collin or Denton County, Texas, the experts at Bewley Plumbing can help you. We are licensed, insured, and a name you can trust. At Bewley Plumbing, we are proud to offer senior citizen, teacher, and military discounts.
Whether it’s flushing your water heater or another plumbing job, we look forward to helping you. Contact us to request service or receive an estimate.


